Documentation
Sample Gcode
Hardware Example
News Archive
Download
Buy Now
Payment, Shipping & Returns
Privacy Policy
Videos
Leadscrew Cover
PCB Cutout
Pinion Gear
G64 Path Blending
Fusion 360 Clamps
Fusion 360 Threads
Sherline
Shapeoko 2
Gecko G540
Sherline 3D Printer
rt-stepper dongle Shapeoko 2 example
Shapeoko 2
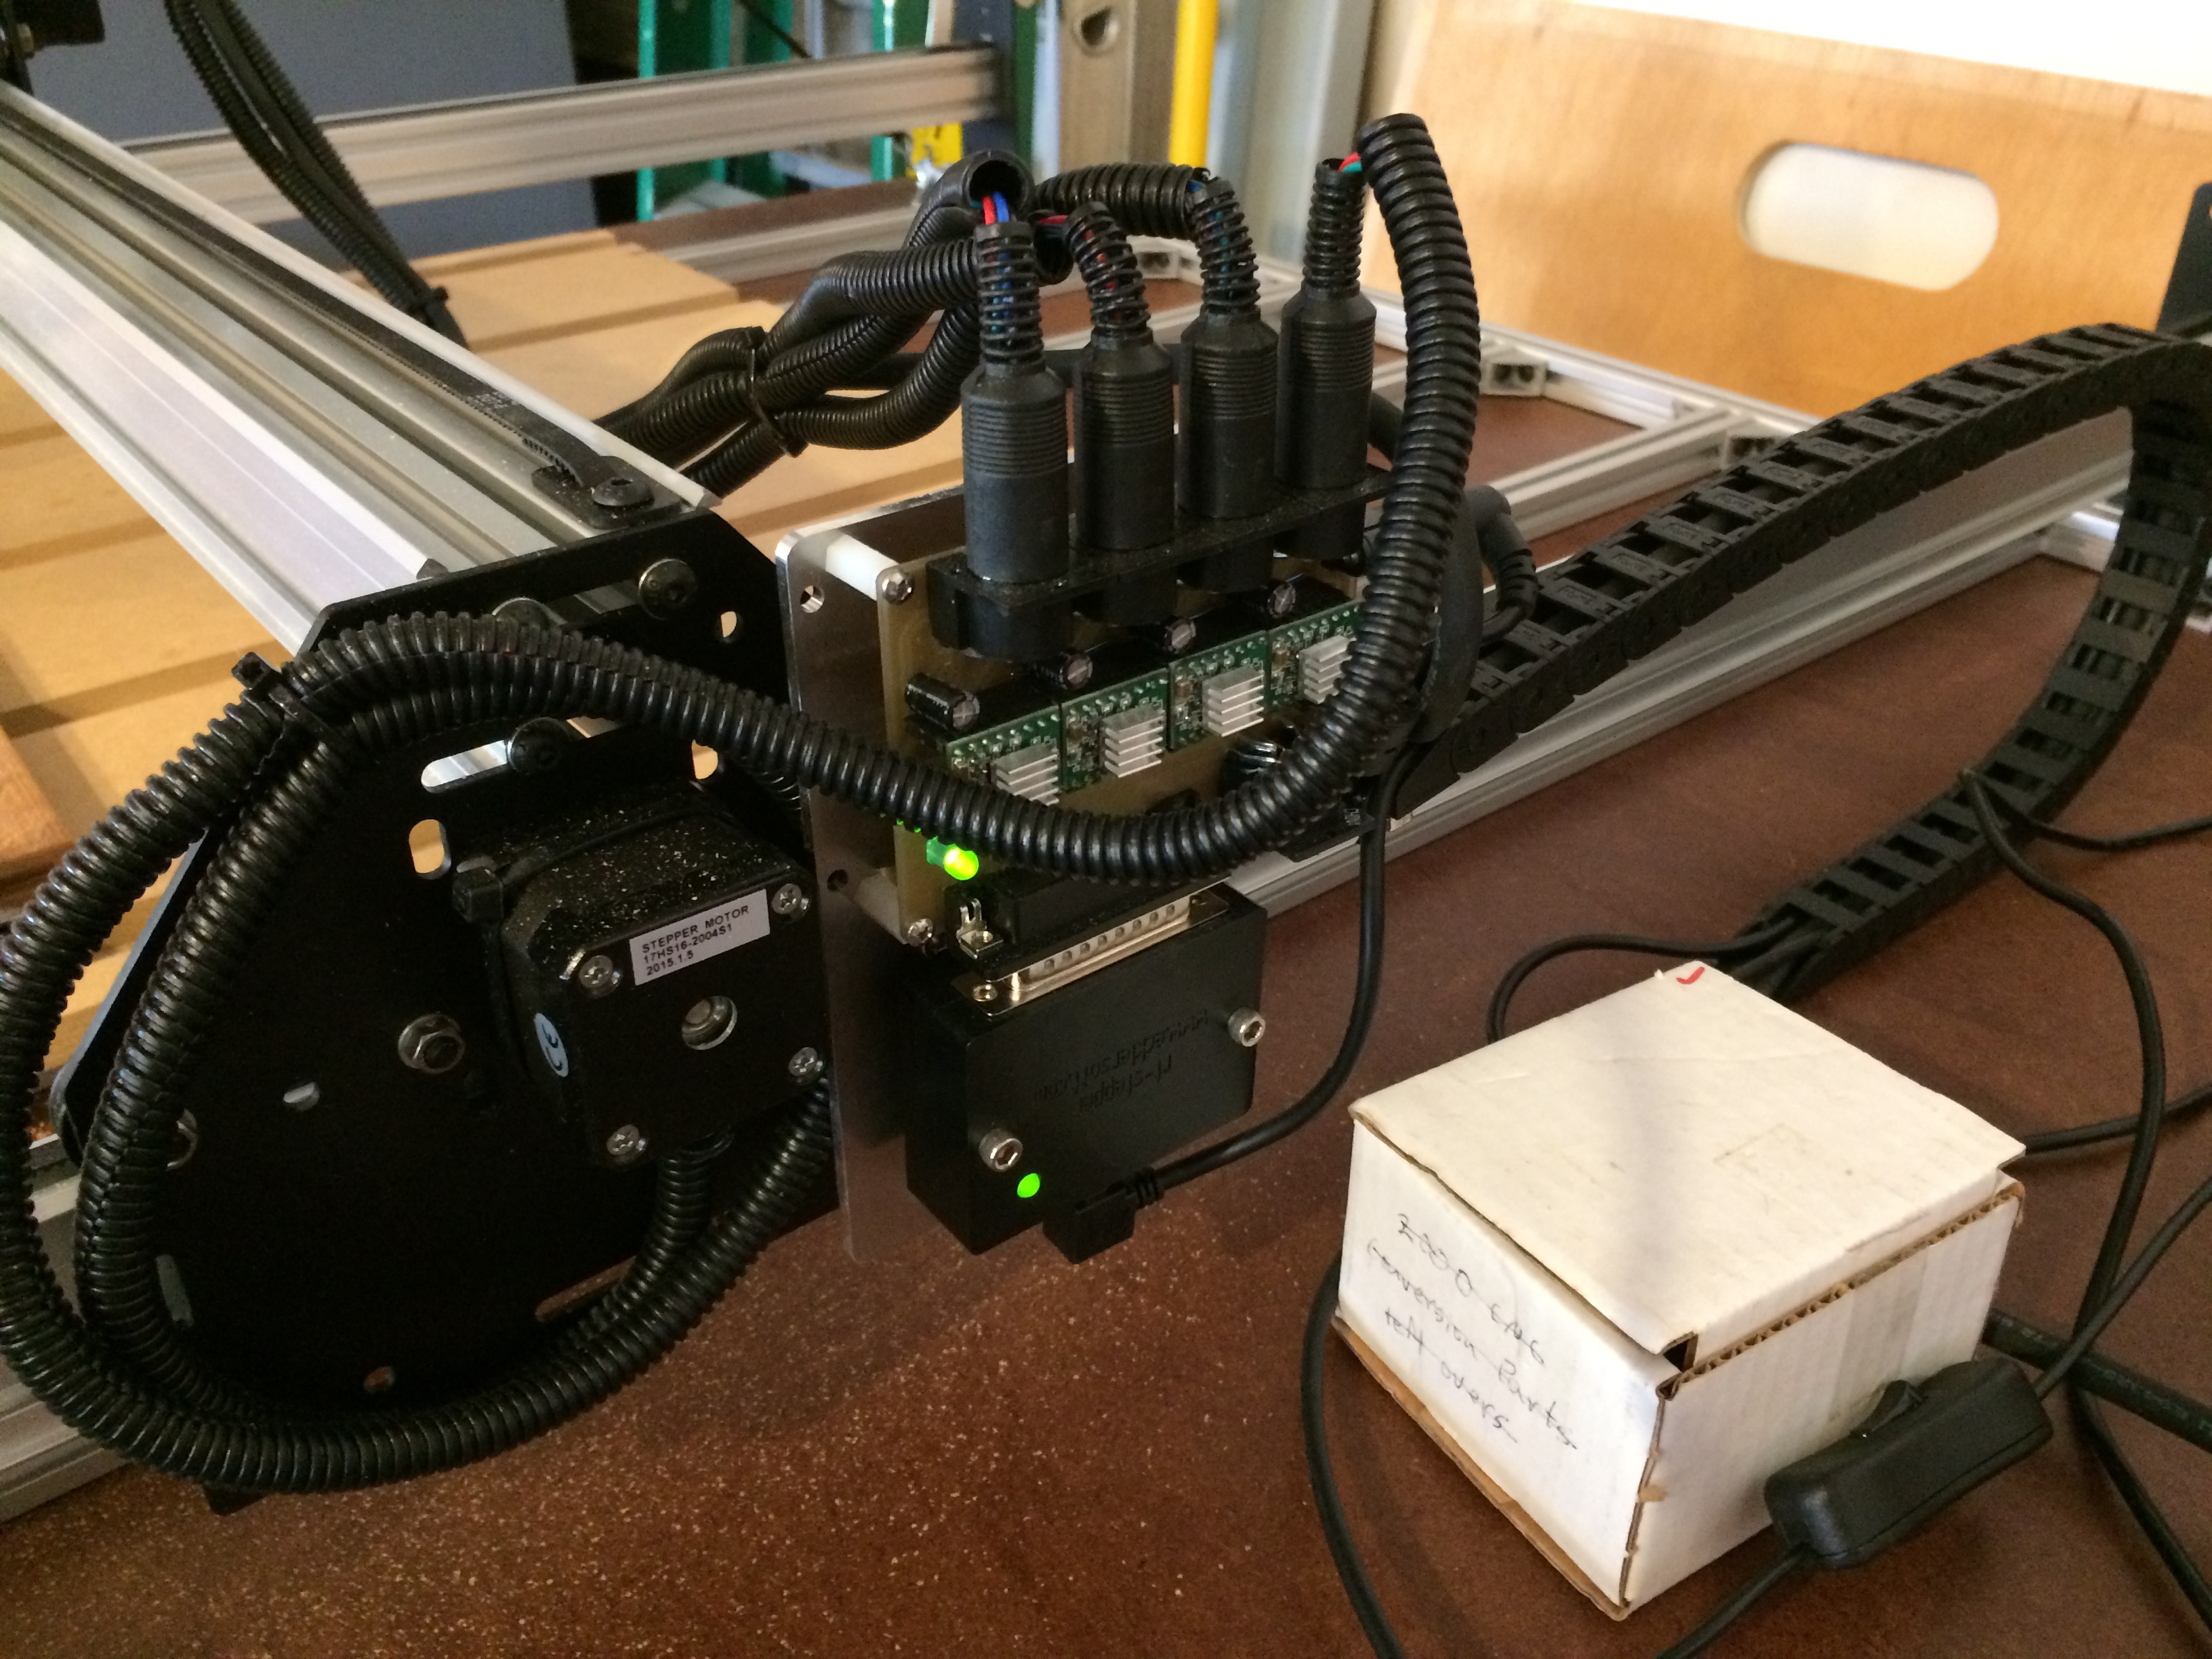
I bought a Shapeoko 2 a while back just before the Shapeoko 3 was released. This kit came with no electronics so I could wire up my own electronics using the rt-stepper dongle. Unfortunately the kit sat for a while (ok a few years), but I finally got it together. I expanded the XY aluminum extrusions from 500mm to 800mm and mounted everything on a torsion box. I build a CNC controller board using 4 StepSticks so that I could plugin my rt-stepper dongle. This allowed me to control the Shapeoko 2 using a normal PC which is compatible with EMC/LinuxCNC.
The Shapeoko 2 uses four stepper motors, one each for the XZ axis and two stepper motors for the Y axis or gantry. Using the rt-stepper dongle I can drive four axis - XYZA. Since the A axis is not used by the Shapeoko, I can map the Y coordinate to the A axis thus configuring the dongle as - XYZY. This means I'm driving both Y stepper motors instead of hard wiring the two stepper motors in parallel. For mapping a coordinate see the COORDINATE parameter in the Axis section documentation.
USB Solution
Here is a picture of the rt-stepper dongle plugged into my Shapeoko 2 CNC controller. The USB cable is plugged into a notebook with no parallel port.
Software
The software that drives the rt-stepper dongle is pymini. The GUI is written in python, so it runs on the three OSs - Windows, Linux and Mac OSX. Software is based on EMC/LinuxCNC, but without the realtime Linux kernel requirement. I'm running pymini with the shapeoko.ini file which would be similar to other Shapeoko 2 machines. All the software is open source and available at www.ecklersoft.com.
Hardware in Motion
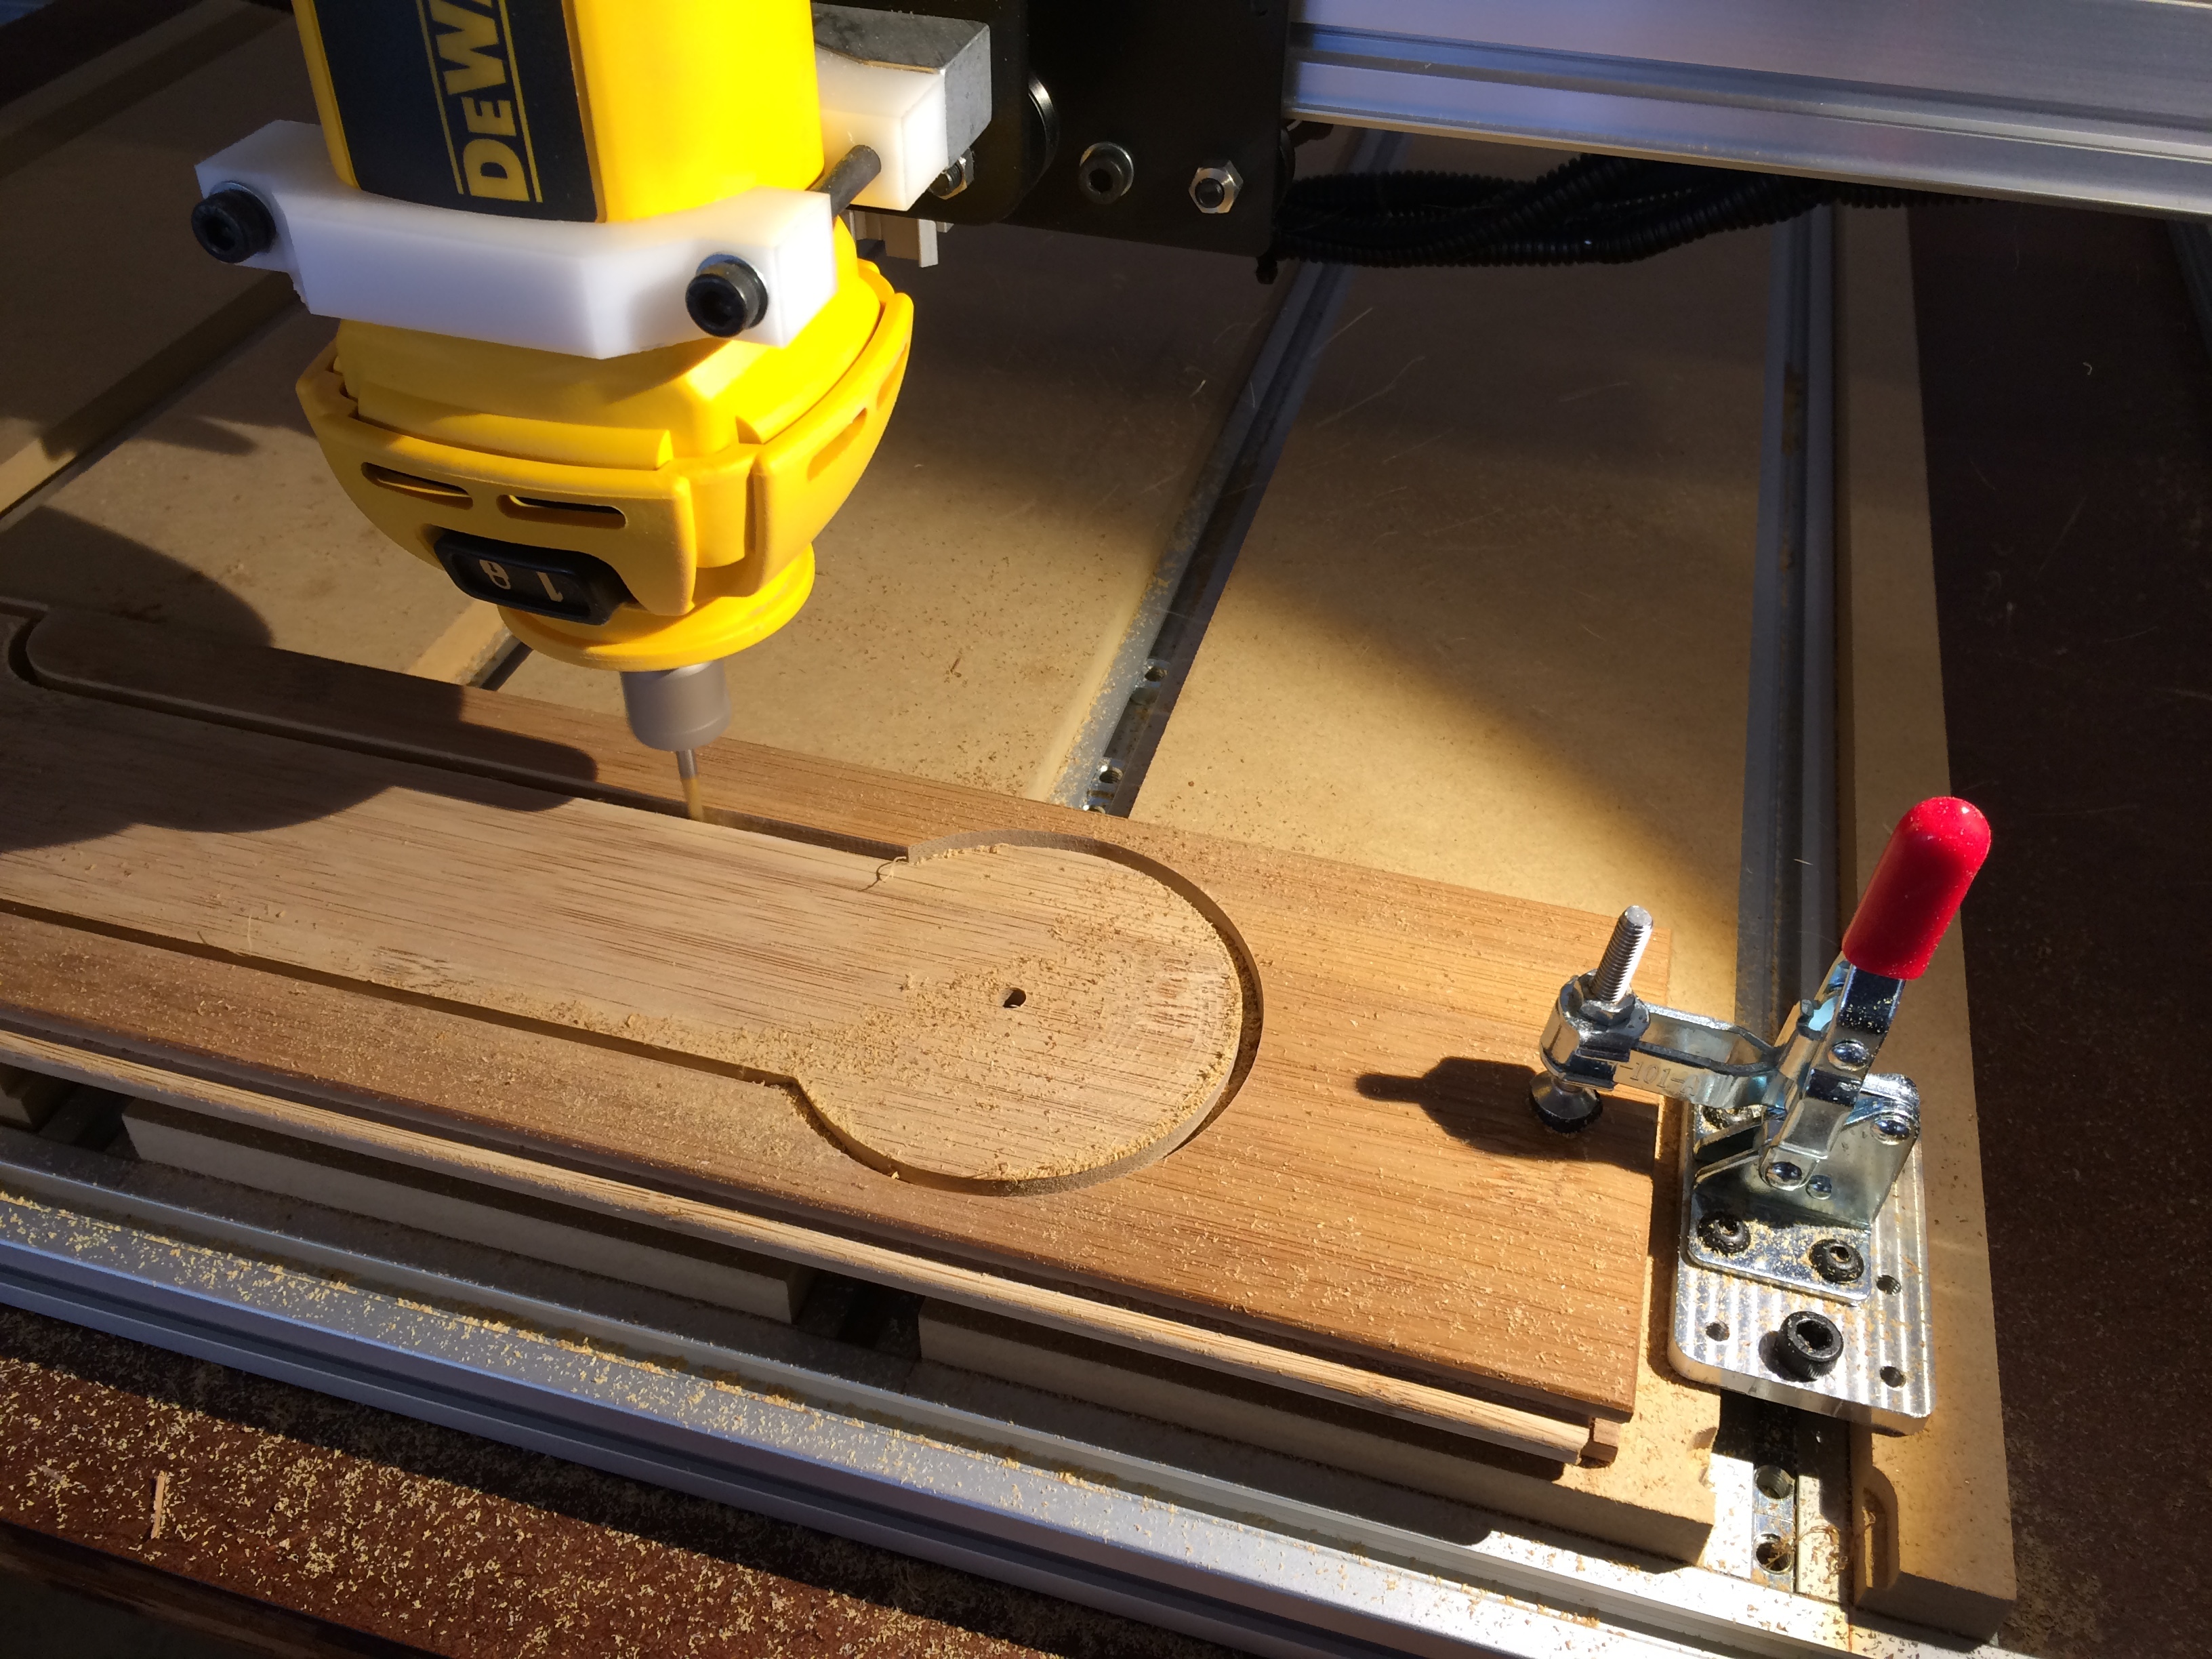
Here is the Shapeoko 2 hardware running at a conservative 30 inches/minute. Rapid moves were set to 60 inches/minute. All stepper motors are NEMA 17 driven with 19VDC. The part being cut is a bamboo barbecue grill scraper.